Have you ever seen a friend's lashes and thought "those would never look right on me," and you were correct? That is lash mapping. Or rather, the lack of it. The same length, curl, and density that makes one face look stunning can make another look heavy, sleepy, or strange. Mapping is the part of the appointment where a great artist designs the set before placing a single lash.
This is one of the things we are most picky about at our Fort Myers studio. A rushed mapping is the single biggest reason a set looks "off" even when the application itself is technically perfect. Here is what mapping actually involves and what to expect from your artist.
What this post covers
- What lash mapping actually means and why it exists
- Eye shape, lid type, and the four common mapping styles
- How length, curl, and density work together (or against each other)
- Questions to ask before your appointment to make sure mapping happens
What Mapping Actually Means
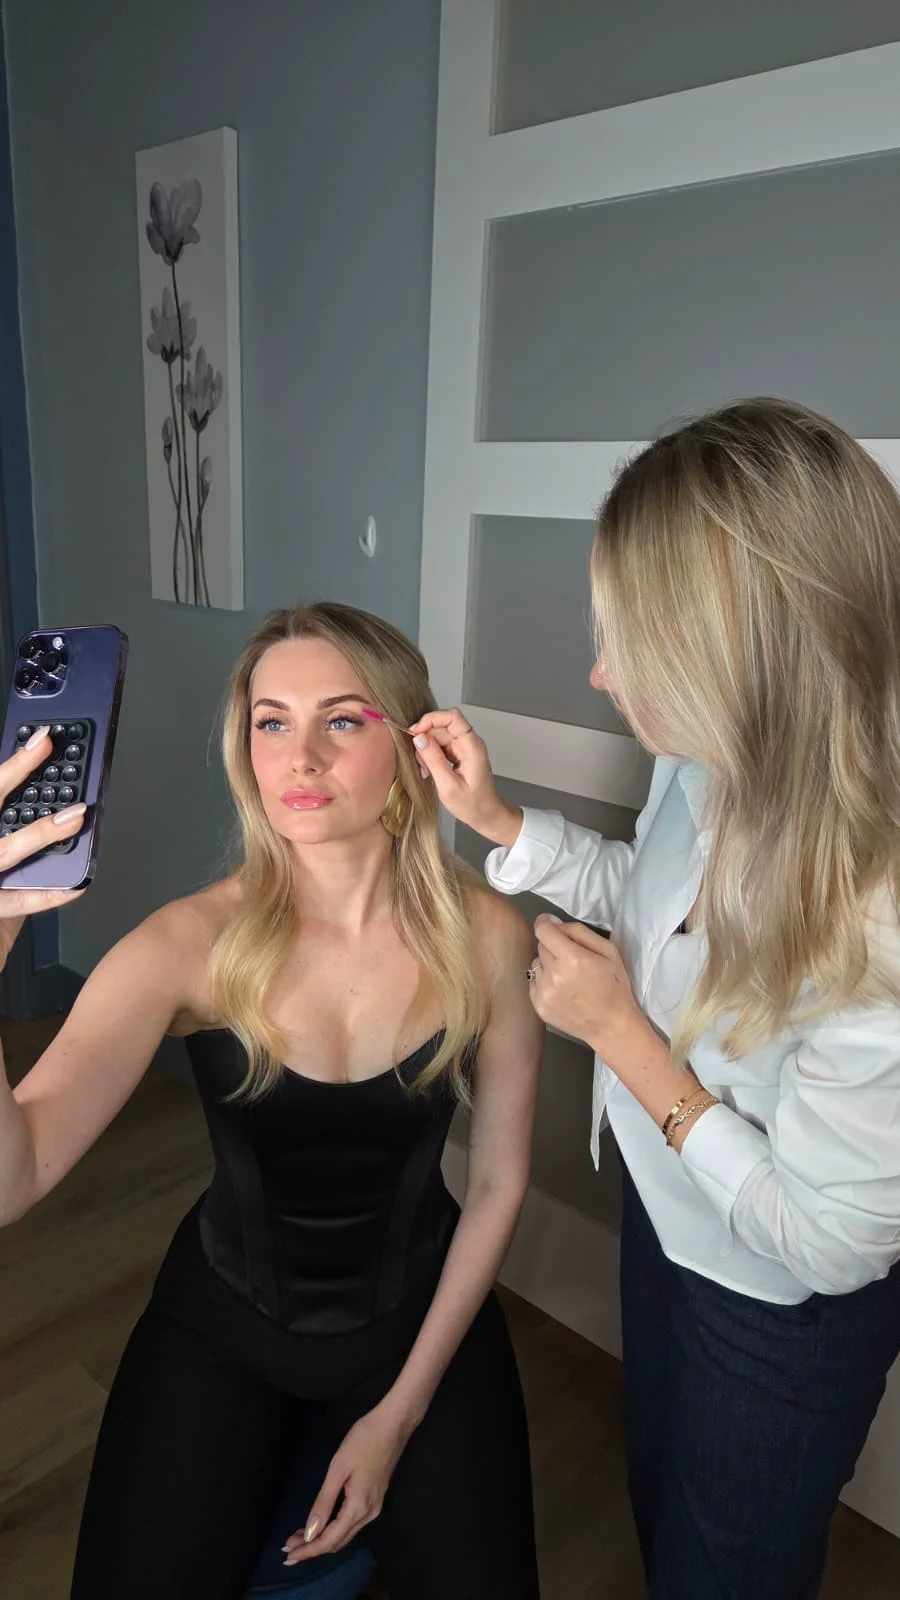
Lash mapping is the planning step where the artist decides exactly which lengths, curls, and curl types will go where on each eye. A typical map divides each eye into 5 to 9 sections from inner corner to outer, and assigns a length and curl to each section based on your features.
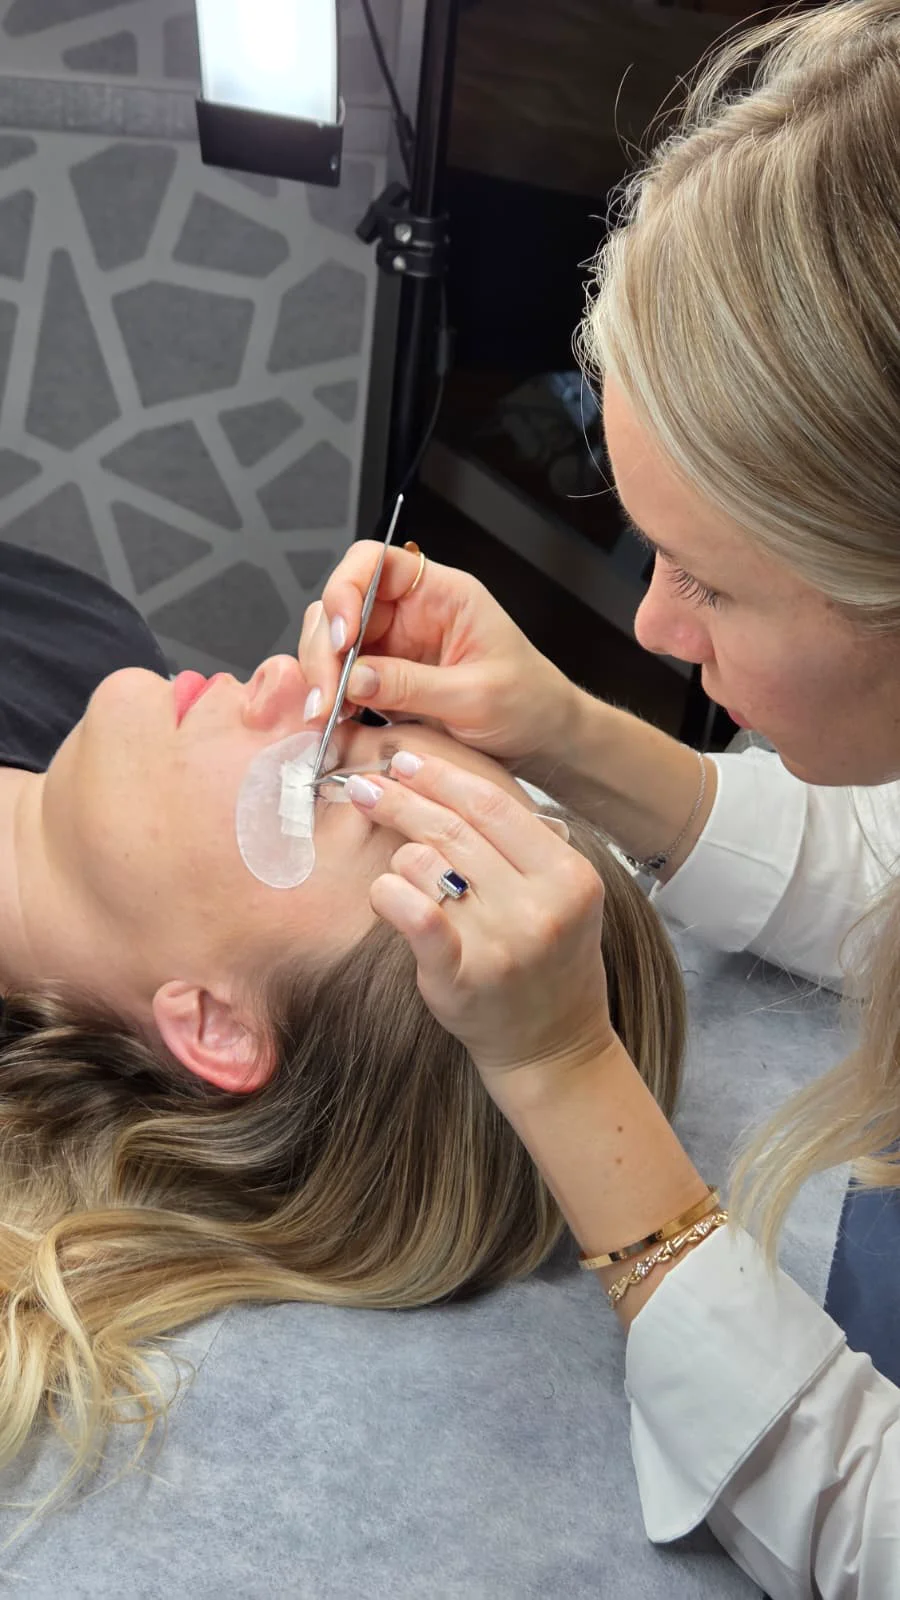
A good artist draws this map (literally, on the under-eye gel pad) before applying any extensions. You can see it before they start. If you watch your artist place extensions without any pre-planning, you are getting a generic set, not a custom one.
Mapping takes 5 to 10 minutes at the start of an appointment. It is the highest-leverage time investment in the entire process, and the difference between a forgettable set and one that genuinely changes how you look.
Eye Shape, Lid Type, and Four Common Maps
Cat eye: Length increases steadily from inner to outer corner, with the longest lashes at the outer third. Best on round and prominent eyes, lifts and elongates. Not great on already-downturned eyes, where it can drag the eye further down.
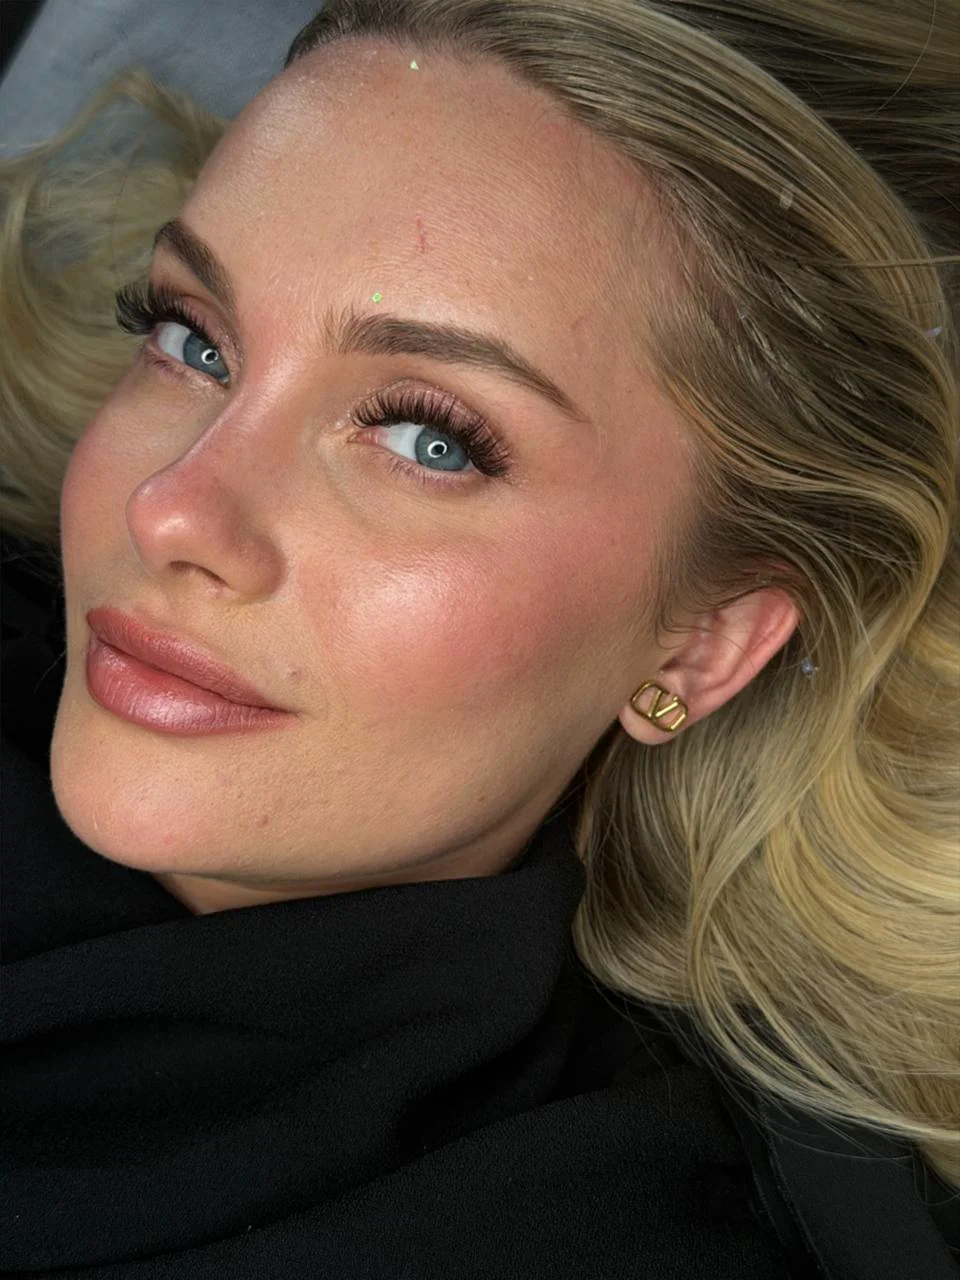
Doll eye: Longest lashes in the center of the eye, shorter at both corners. Opens up almond and hooded eyes. Photographs beautifully because it emphasizes the iris.
Squirrel: Length peaks slightly past center toward the outer third, then tapers. The most flattering map for most eye shapes, which is why it is our most-requested style.
Wispy/textured: Alternating lengths throughout, with strategic spikes for an unfilled, "fluffy" look. Best on people with strong natural lashes who want texture, not density. Subtle from a distance, beautiful in close-ups.
Hooded lids need special consideration. The visible lash line is shorter than the actual lash line, so longer extensions get hidden under the lid. We use a slightly stronger curl and avoid extreme lengths that disappear when the eye is open.
Have a question we can answer?
Drop your name and number. We will text you back from our Fort Myers studio with honest, no-pressure advice for your situation.
Length, Curl, and Density Working Together
Length is the most obvious lever and the most overrated. Going from 12 mm to 14 mm sounds dramatic and is. But longer is not always better. Long lashes on shorter natural lashes feel heavy, weigh down the natural lash, and reduce retention significantly. Pick the longest length your natural lash can support, not the longest length you want.
Curl matters more than people realize. A C curl reads as natural and lifted. A D curl is dramatic and opens the eye. An L curl is for hooded lids where you need to push the curl out before going up. The wrong curl on the right length still looks wrong.
Density is volume per natural lash. Classic places one extension per natural lash. Hybrid mixes singles and small fans. Volume uses fans of 3 to 6 fine extensions per natural lash. Mega volume uses fans of 8 to 16. Density choice depends on your natural lash health and the look you want, and a good map specifies different densities in different sections of the eye.
Questions to Ask Before Your Appointment
Three questions reveal whether your artist actually maps. First, "What style would you recommend for my eye shape?" If they answer with anything other than a specific style name and a reason, mapping is not happening. Second, "Can you draw the map on the gel pad before applying?" The right answer is "yes, of course, I always do." Third, "What lengths and curls will you use?" If they say "the usual," look elsewhere.
Bring inspiration photos, but be ready to hear "this won't work on you, here is what will." A great artist tells you when your inspo photo is from a face shape unlike yours, and shows you a similar look adapted to your features. That conversation is the entire point of mapping.
If you are coming to our Fort Myers studio, every set starts with this conversation. We have done thousands of sets in Lee County and the surrounding areas, and the mapping is the part we are most proud of.
Why Cookie-Cutter Sets Look "Off"
You can tell when a set was not mapped. The lashes look fine in photos straight on, but anything from an angle reveals a flat shape that does not follow the natural eye contour. Selfies look strange. The eye looks shorter or droopier than it should.
Mapping fixes this by following the natural geometry of the eye, not the geometry of a generic template. Two clients with the same length and curl will get totally different-looking sets if their maps are different, and that is the goal.
If you have ever been disappointed by lashes that "should have been right," mapping is almost certainly the missing ingredient. The next time, ask for it specifically before the artist starts. The difference is night and day.
What Mapping Looks Like in Practice
Picture your eye divided into 7 zones from inner corner to outer corner. A typical squirrel map for a hooded almond eye might read: 8 mm C curl in the inner corner, 9 mm C curl through zones 2 and 3, 11 mm C curl peaking at zone 4, 12 mm CC curl through zones 5 and 6, then dropping to 11 mm L curl at the outer corner to lift without dragging.
Your artist will write this directly on the gel pad in pencil before starting. You can ask to see it. A photo of your map at the end of the appointment makes future appointments faster, because we recreate the same plan with small refinements rather than starting fresh every time.
Mapping also accounts for asymmetry. Most faces have small differences between left and right eyes (slightly different size, different lid lift, different lash density). A mapped set treats each eye individually. A non-mapped set treats them the same and looks subtly off in photos.
If your last set looked great straight on but strange in selfies, this asymmetry adjustment was probably missing. It is the kind of thing only a careful map catches.